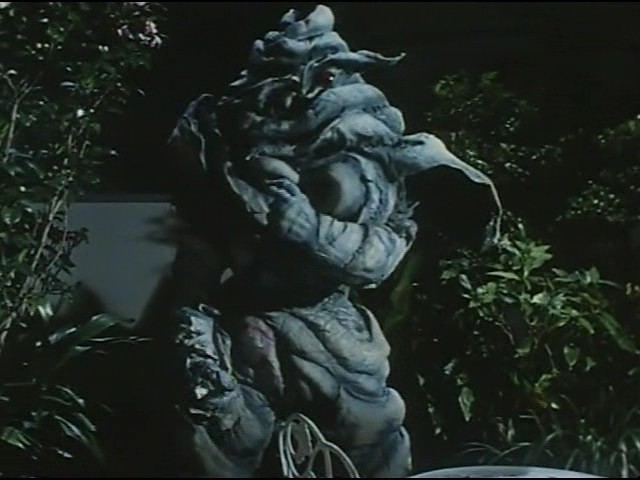
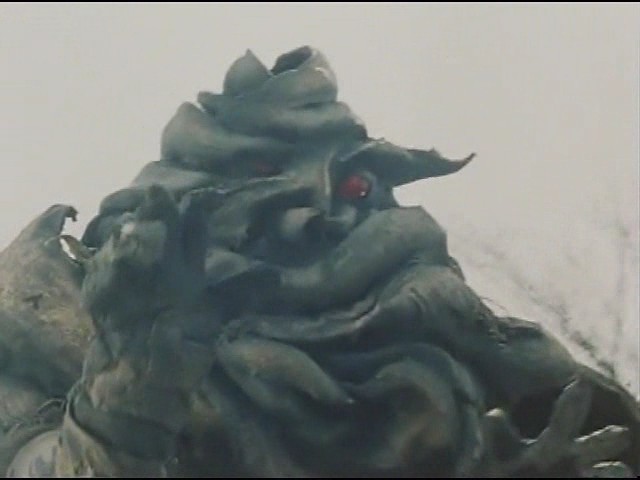
Here's 3 shots of the Smudgey Swirl Demon.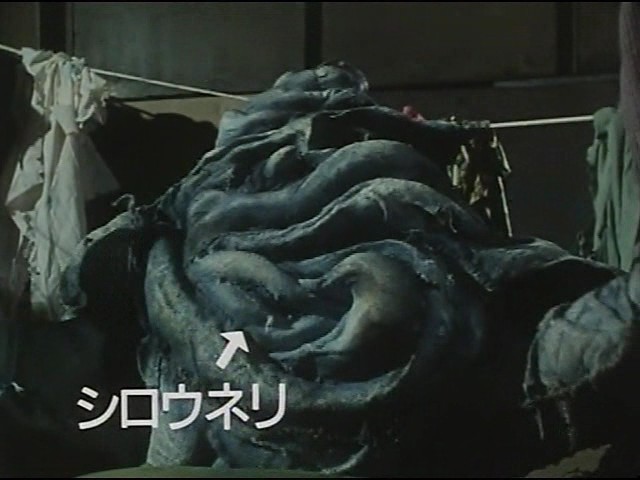
Here's a shot of Seikai's Coin.
Here's another shot of the Smudgey Smirl Demon.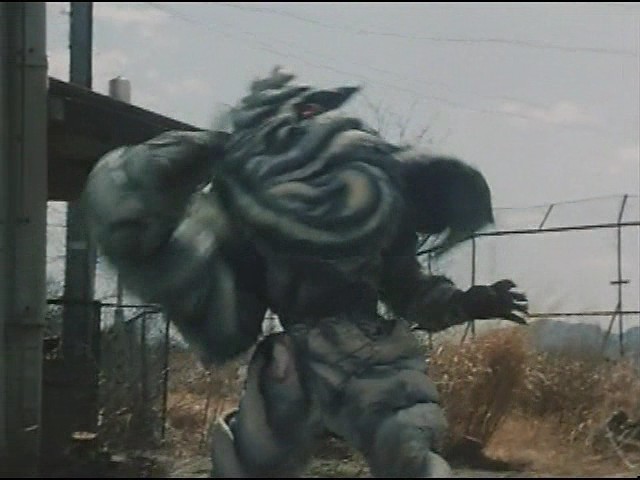
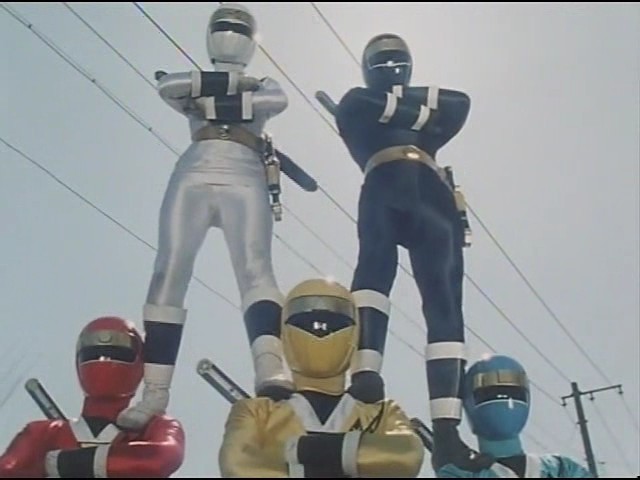
Here's 2 shots of the KakuRangers' Pyramid Stance.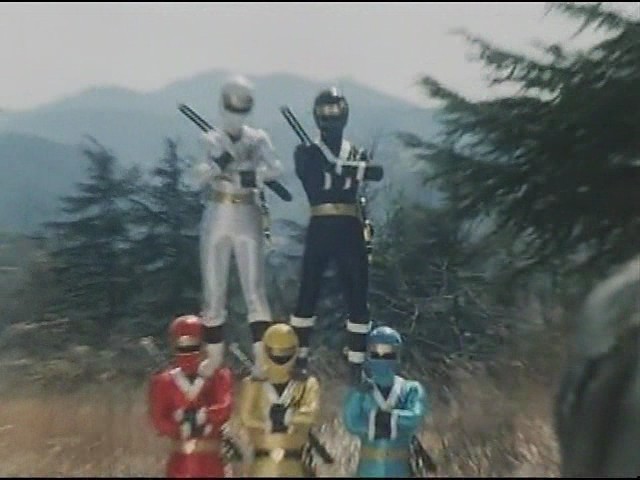
Here's how the KakuRanger Ball pass went in this episode. Ninja White
started it out and threw it to Ninja Black who threw it to Blue who
threw it to Red and then Red just hold it on the ground while Yellow
prepared to kick it.
Here's a shot of Ninja Red holding the KakuRanger Ball while Ninja
Yellow prepares to kick it.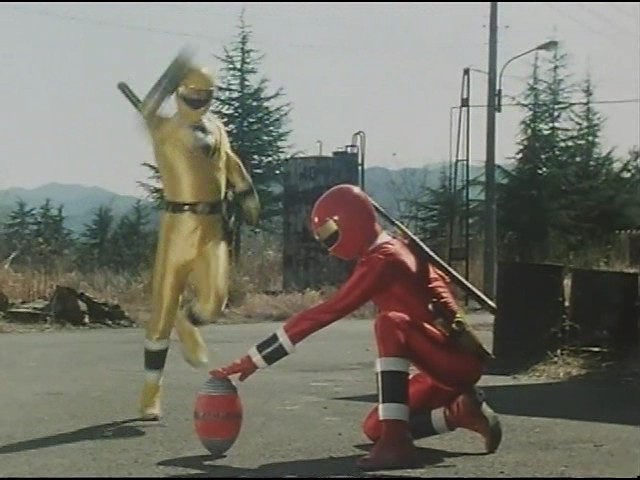
Here's another shot of Ninja Yellow preparing to kick the KakuRanger
Ball.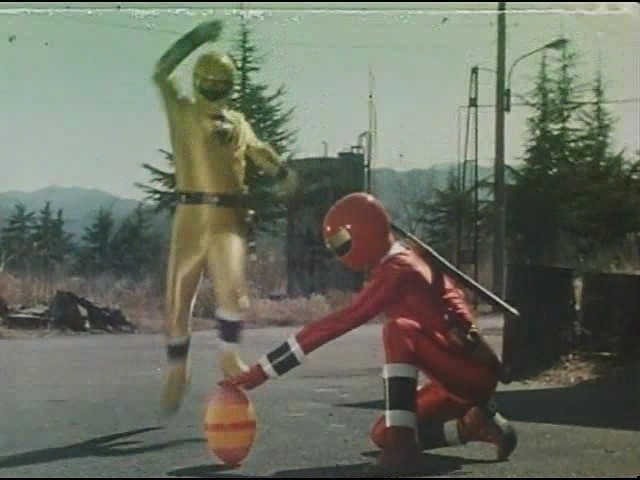
Here's a shot of Ninja Yellow kicking the KakuRanger Ball.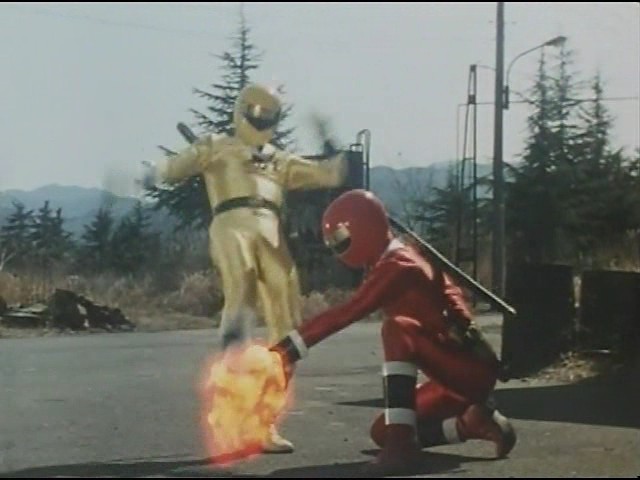
Here's a shot of the KakuRanger Ball hitting the Demon.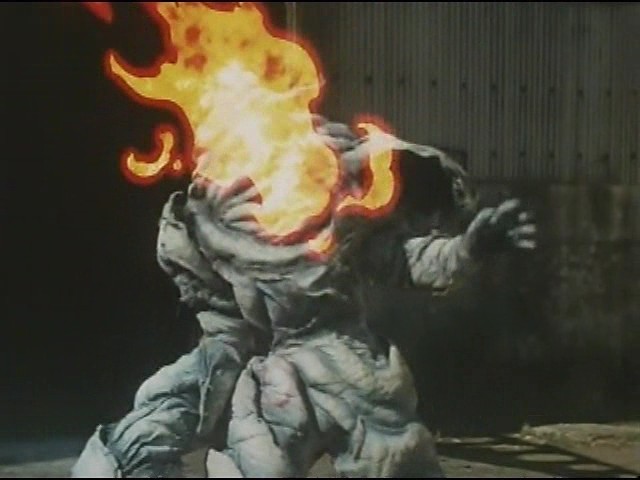
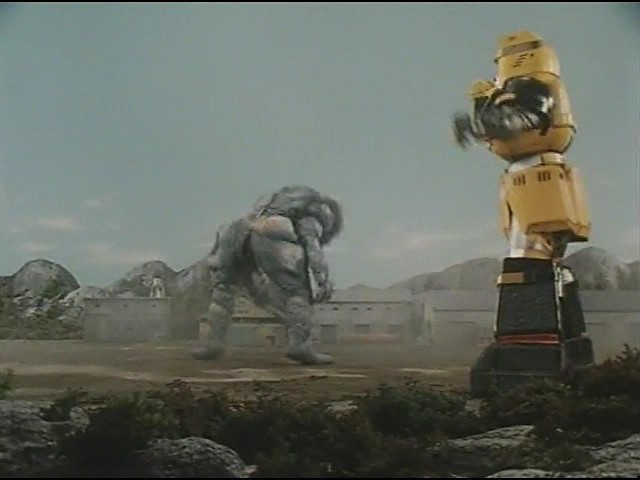
Here's 2 shots of the Smudgey Swirl Demon and the Yellow Shogunzord.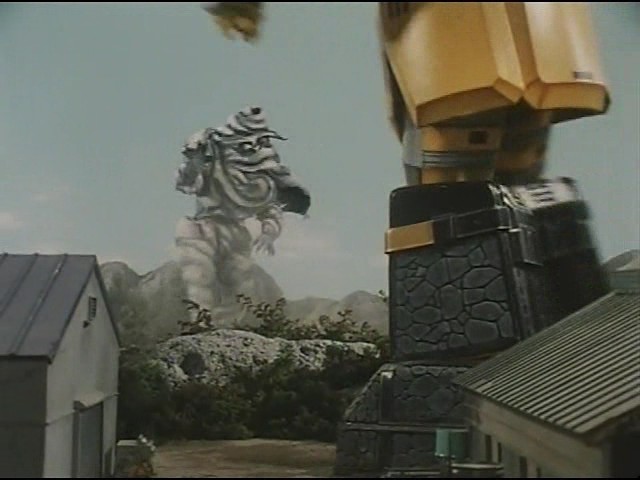
Here's a shot of the Yellow Shogunzord's First Special Attack. This
attack just causes a fire on the ground which eventually leads to the
Demon sparking up.
This
attack just causes a fire on the ground which eventually leads to the
Demon sparking up.
Here's a shot of the Fire Saber hitting the Demon which destroys him.