Here's a shot of the 3 Swords.
Here's a shot of the 5 Swords.
Here's a shot of Brick Bully.
Here's a shot of the Castle.
Here's a shot of the Demon Foot Soldiers.
Here's a couple shots of the Seal Door.
Here's a shot of Garbage Mouth.
Here's 3 shots of the Head Demon.
Here's a shot of Ninja Red, Ninja White and Ninja White.
Here's a shot of a Shuriken hitting a Blue Foot Soldier.
Here's a shot of Ninja White's Special Attack.
Here's a couple shots of Parrot Top.
Here's a couple shots of See Monster.
Here's a shot of the Shogun Megazord.
Here's a shot of the Shogun Megazod using its Fire Saber move.
Here's a shot of Tsuruhime.
Here's a shot of Tsuruhime with her Doron Changer.

KakuRanger Episode 2

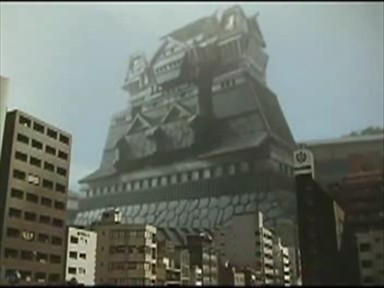
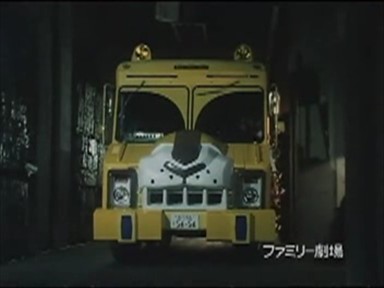
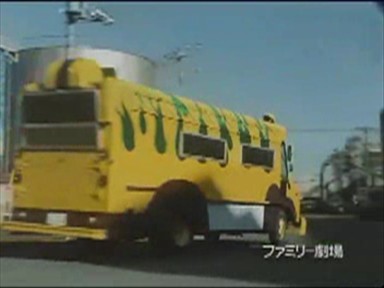
Here's a couple shots of the Cat Bus which is the KakuRanger base of operations.
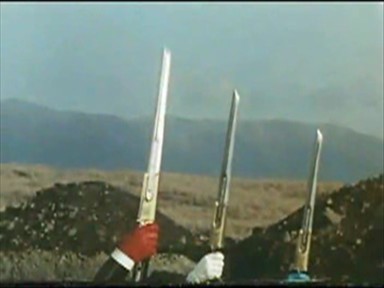
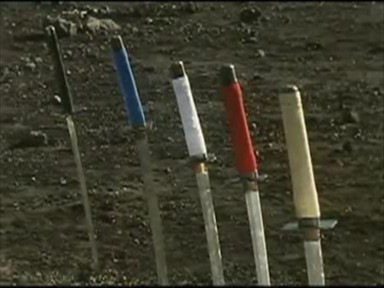
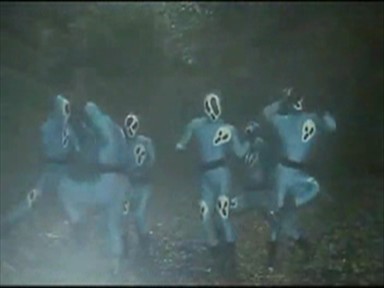
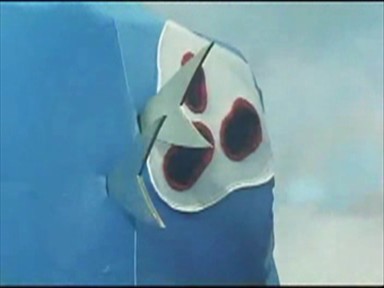
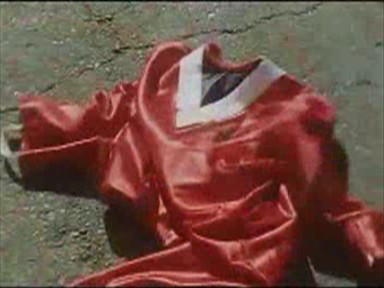
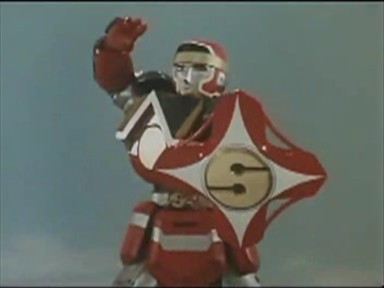
Here's a shot of Ninja Red's Decoy Suit Trick.
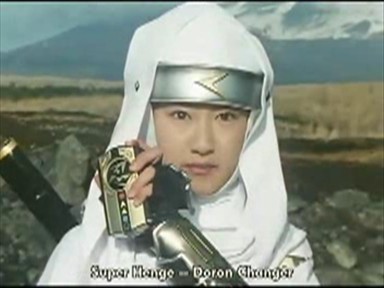
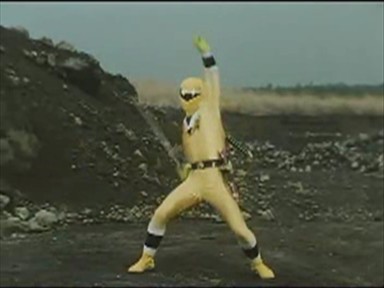
Here's a shot of Ninja Yellow.
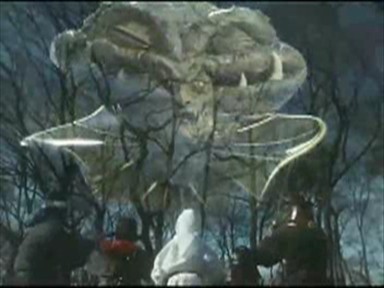
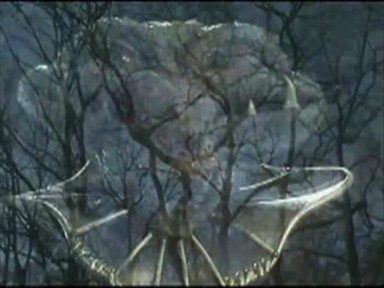
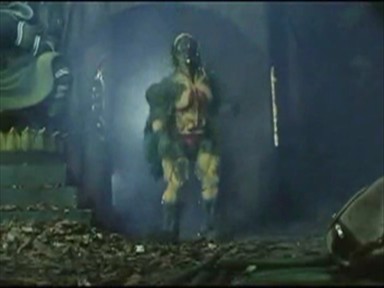
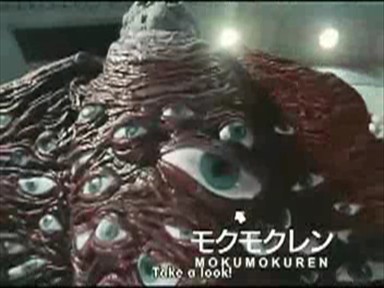
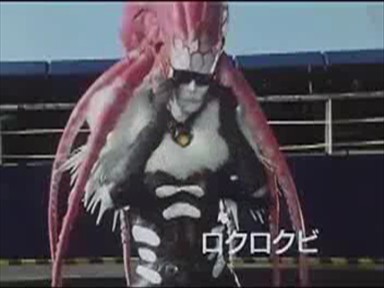
Here's a couple shots of Octo-Head.
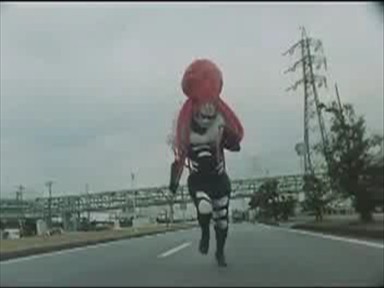
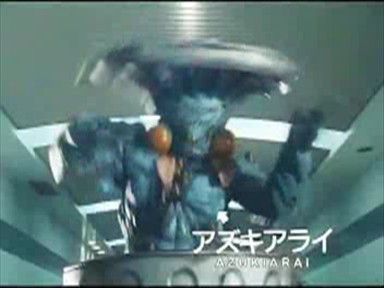
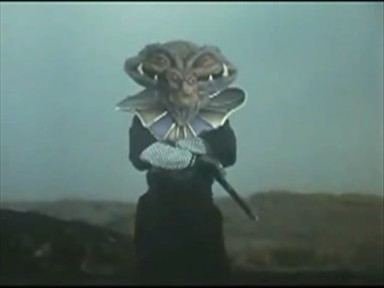
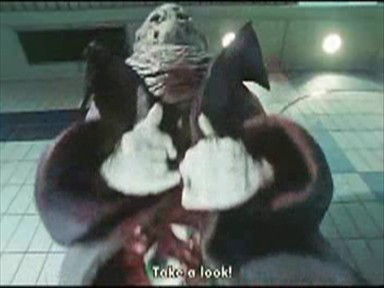
Here's a shot of Parrot Top with Octo-Head's head.
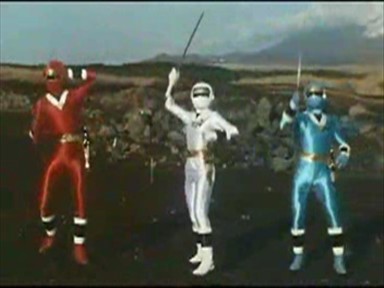
Here's a shot of Ninja White's Katana Shape/Symbol Finisher hitting the headless Octo-Head however this was one during Ninja Red was his Shogunzord and was doing battle after Parrot Top and Octo-Head's Head..
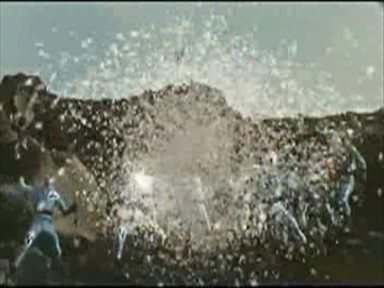
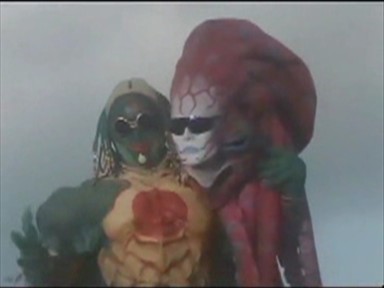
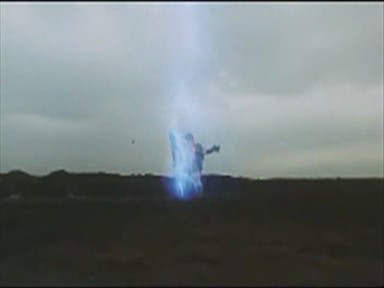
Here's a shot of the growth lightning hitting Parrot Top and Octo-Head.
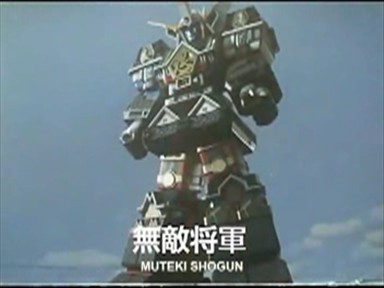
Here's a shot of the Red Shogunzord. This zord doesn't have a cockpit in KakuRanger due to the fact that the KakuRanger are their Shogunzords.
Here's a shot of the Red Shogunzord with its Slicer weapon.
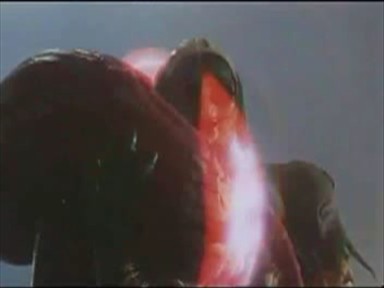
Here's a shot of the Slicer Beam Finisher going through Parrot Top and Octo-Head's head which destroys them.